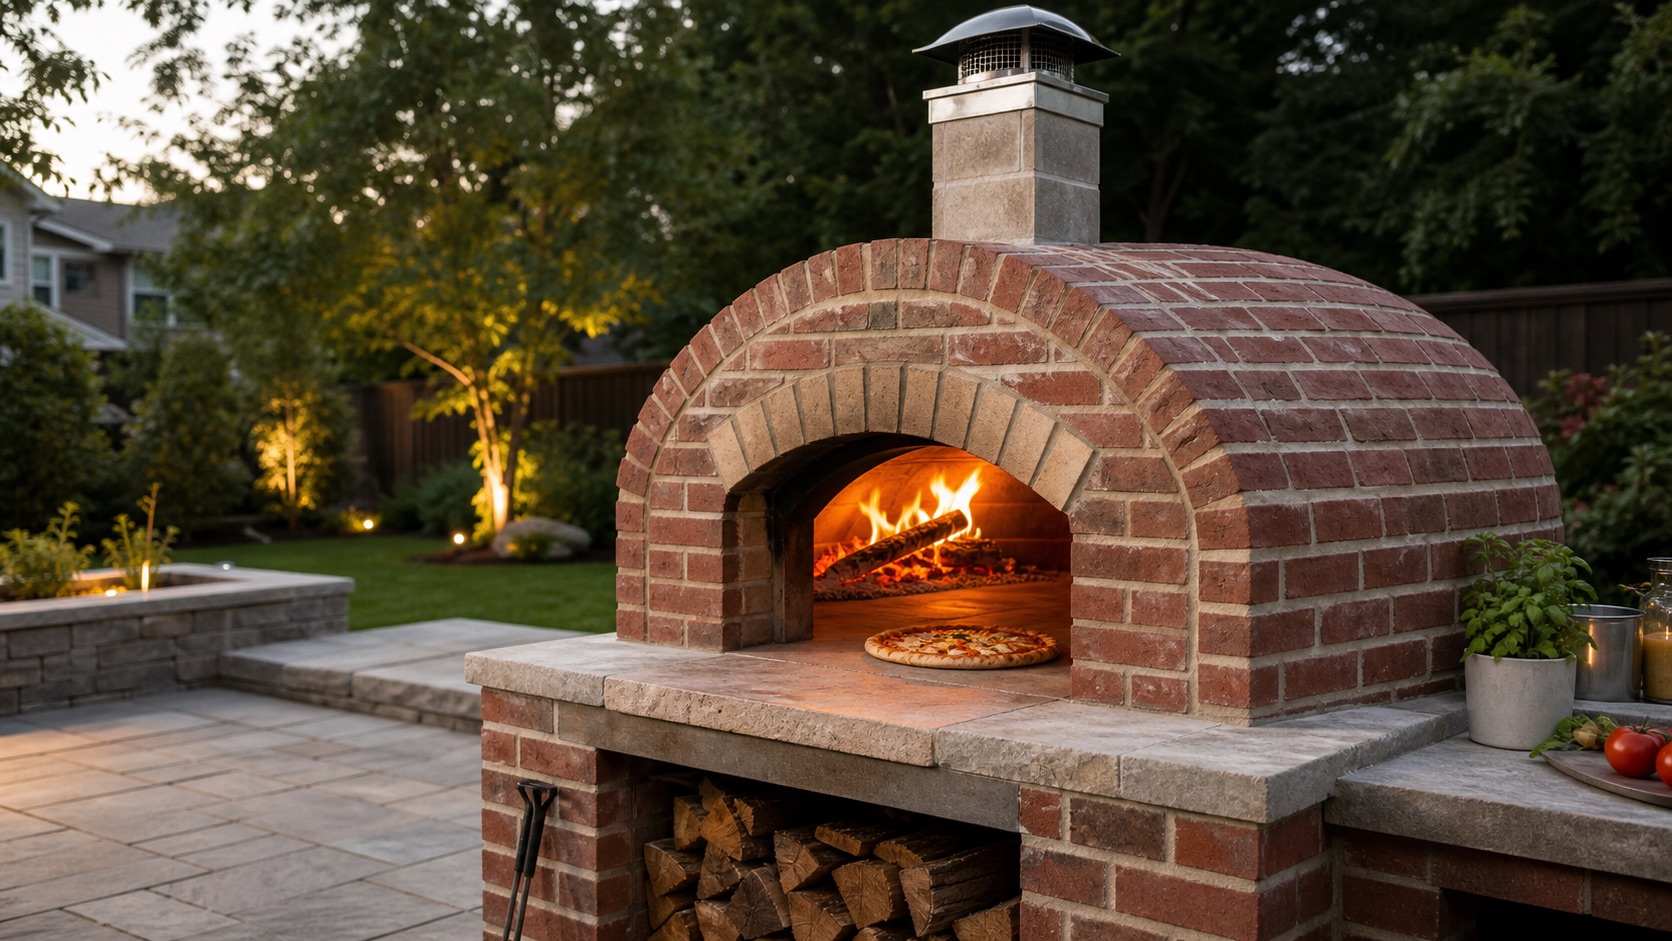
A permanent wood-fired oven is a small masonry building, not a weekend pile of bricks. Done properly, a 36-inch oven can hold the high, even heat needed for restaurant-style pizza and retain enough warmth for bread or roasting. Done badly, it can crack, smoke into the cook’s face or transfer dangerous heat into nearby framing.
This guide lays out the sequence for a serious backyard build. It is based on the proven Pompeii-style oven: an insulated firebrick floor under a low masonry dome, with the chimney outside the cooking chamber. It is not a substitute for a stamped structural design or local approval.
Before buying a single brick
Call your building and fire departments. Ask whether a permanent solid-fuel cooking appliance needs zoning review, a building permit, chimney approval or setbacks from property lines and combustible construction. Also check burn bans and neighborhood rules. Requirements change by location.
Batmandir · Founders A numbered seat at the table. S3 · The Founders Club — 161 seats per location. By invitation. Explore membership →For perspective, current New York City fire-safety material describes an outdoor stationary wood-burning oven as a permanent or partially enclosed masonry or metal appliance. It calls for an approved chimney, overhead weather protection, noncombustible surfaces within five feet and Department of Buildings approval or a filed application. That is a useful safety benchmark, not a universal national rule.
Choose an open, well-drained location where smoke will not be trapped under a roof or blown straight into a neighbor’s window. Keep the oven away from fences, branches, siding and stored fuel. Have underground utilities marked before excavation. If the site has expansive soil, deep frost or questionable drainage, hire a local engineer or qualified masonry contractor to size the footing.
The target: a 36-inch Pompeii-style oven
A 36-inch internal cooking floor is a practical backyard size: large enough to work a live fire beside one or two pizzas, but smaller and faster to heat than a restaurant production oven. Plan on a finished structure roughly five to six feet wide and six to seven feet deep once the landing, insulation and weather enclosure are included. Verify the final footprint from your exact wall, insulation and finish dimensions before pouring concrete.
The hot face should be made from medium-duty firebrick and refractory mortar. Ordinary face brick can be used outside the insulated shell as a decorative weather enclosure, but it should not form the cooking floor or exposed inner dome. A published 36-inch Pompeii materials list estimates about 60 full firebricks for the floor, about 120 full bricks cut in half for the dome and 130 to 180 pounds of high-temperature mortar. Buy extra for cuts and breakage.
Materials
- Compacted crushed stone, reinforced concrete and reinforcing steel sized for local soil and frost conditions
- Concrete masonry units for the stand, plus grout, mortar and reinforcing steel
- Formwork and a reinforced concrete structural hearth slab
- At least two inches of load-bearing calcium-silicate or equivalent high-temperature board beneath the oven floor
- Medium-duty firebrick for the cooking floor, dome, inner arch and vent
- Refractory mortar rated for wood-fired-oven temperatures
- A thin leveling mix of fine sand and fireclay for the floor
- At least three inches of ceramic-fiber blanket over the dome, or an engineered equivalent
- A listed, insulated chimney system or refractory flue sized for the oven and installed to its listing and local code
- Noncombustible exterior cladding, flashing, roof or waterproof stucco system
- A removable insulated oven door, long-handled peel, brass brush, infrared thermometer, metal ash bucket and appropriate fire extinguisher
Wear eye, hearing and respiratory protection when cutting masonry or handling insulation. Use wet cutting or dust extraction. Silica dust can cause permanent lung damage.
Step 1: Set out the footprint and pour the footing
Stake the complete footprint, including the front landing and any counters. Excavate to competent soil and below the locally required frost depth. Install compacted stone, forms and reinforcement according to the approved plan, then pour the slab level and square.
This base will carry well over a thousand pounds; some packaged 36-inch oven systems approach 1,600 pounds before the stand and exterior finish are counted. Do not guess at slab thickness or reinforcement on unstable soil. Let the concrete reach the strength required by the plan before loading it.
Step 2: Build the block stand
Lay the first course of concrete block perfectly level. Build the stand to a comfortable working height, typically placing the cooking floor around waist level. Form an opening at the front for dry wood storage, using a properly sized steel angle or reinforced masonry lintel above it. Reinforce and grout the specified cells.
Dry-stored wood belongs below or beside the oven, never where sparks or heat can reach it. Keep the active fuel supply modest and maintain the clearances required by the fire department.
Step 3: Cast the structural hearth
Build strong, fully supported formwork over the stand. Tie the reinforced hearth slab into a continuous load-bearing platform, then pour and finish it flat. This is the structural slab; it is not the cooking floor.
Allow it to cure before stripping the forms. The firebrick layer must be thermally separated from this concrete. Without insulation, the slab becomes a heat sink, the oven heats slowly and high temperature cycling can damage the assembly.
Step 4: Install under-floor insulation
Set at least two inches of load-bearing, high-temperature insulation board over the structural hearth, following the board maker’s installation instructions. Keep it dry. Extend it under the entire cooking floor and dome footprint so there is no direct thermal bridge from hot firebrick to structural concrete.
Forno Bravo’s published kit specification uses two inches beneath the floor and three inches over the dome. Those dimensions are a useful performance baseline for an oven expected to reach and retain pizza heat.
Step 5: Lay the firebrick cooking floor
Mark the 36-inch circle and the entry. Set full firebricks flat and tight on a very thin, screeded bed of fine sand and fireclay. Do not mortar the cooking-floor joints. A smooth, replaceable floor lets the peel travel without catching and allows individual bricks to move with heat.
Arrange the floor so the peel does not run directly into a long joint at the mouth. Cut the perimeter bricks to the circle with a wet masonry saw. Check the surface with a straightedge and correct every proud edge now.
Step 6: Build the dome and inner arch
Dry-lay the first ring around the floor and leave a small isolation joint at the perimeter. Cut firebricks into halves or tapered units. Build each successive ring inward, using refractory mortar in the joints and an indispensable tool or shaped form to keep every brick face on the same radius.
Tie the dome into a self-supporting inner arch at the entry. The arch must carry the masonry above it without relying on a temporary wood form. Keep the mortar joints on the hot face narrow and remove squeeze-out as you work.
A low, round dome reflects flame and radiant heat toward the floor. Do not improvise the dome and doorway proportions from a photograph; follow one complete engineered plan set for the chosen diameter. Mixing dimensions from unrelated builds is a common route to poor draft and awkward access.
Step 7: Build the vent, landing and chimney
The inner arch closes the oven chamber. Immediately outside it, build a second arch and vent gallery that funnels smoke upward into the flue. This keeps the chimney outside the cooking chamber so the oven can retain heat when the fire is removed and the insulated door is fitted.
Use a listed insulated chimney system or an approved masonry flue, sized and supported to the manufacturer’s instructions and local code. Add the required anchor plate, storm protection, cap, spark control and clearances. Chimney height depends on nearby roofs and obstructions; “two feet of pipe” is not a design rule.
Before covering the dome, perform only the inspection or low-temperature smoke test allowed by your plan and local inspector. Smoke should be captured at the front vent instead of rolling out at eye level.
Step 8: Insulate the dome
Once the refractory work has set, wrap the dome in at least three inches of high-temperature ceramic-fiber blanket or an equivalent engineered system. Stagger seams and secure the blanket without compressing it. Add the specified insulating render if the enclosure design calls for it.
Insulation is what turns a brick firebox into a high-performance oven. It keeps heat in the cooking chamber, protects the exterior and reduces fuel use. Never substitute ordinary fiberglass insulation.
Step 9: Build a weatherproof, noncombustible enclosure
Choose either an igloo finish or a small gabled enclosure. In either case, shed water away from the dome, hearth and chimney penetration. Use noncombustible materials and maintain every required air gap and chimney clearance. Flash the flue carefully. Water entering the insulation is one of the fastest ways to ruin performance and cause freeze damage.
Decorative common brick, stone or stucco belongs outside the insulated thermal shell. Add a generous noncombustible landing at the mouth and ensure the surrounding work area meets local clearance rules.
Step 10: Let it dry, then cure it slowly
Do not celebrate completion with a full fire. Moisture trapped in refractory masonry can flash to steam, causing cracks or spalling. Follow the mortar and insulation manufacturers’ instructions first.
One current manufacturer schedule calls for letting the completed, insulated oven sit for a week, then holding a centered curing fire for about six hours at 300°F on day one. The schedule rises to 350°F, 400°F, 450°F and 500°F on the following four days. Measure at the top of the inner dome with an infrared thermometer and stay below the daily limit. If your refractory supplier specifies a different schedule, use that schedule.
Never use water to cool a hot oven. Thermal shock can pit and crack the floor.
Step 11: Fire and cook cleanly
Burn only clean, dry, locally sourced firewood. The Environmental Protection Agency recommends seasoning split wood for at least six months and burning it below 20 percent moisture. Start with dry kindling or an all-natural starter. Never use gasoline, kerosene or charcoal lighter fluid.
Do not burn painted or pressure-treated lumber, plywood, particleboard, trash, plastic, driftwood or moldy wood. These materials can release toxic pollutants and contaminate a cooking chamber.
Build a small fire in the center, then increase it gradually and move it to the side as the dome heats. A properly fired oven burns with a bright flame and little visible smoke. Check the local air-quality forecast and obey no-burn days. Keep the extinguisher accessible and place cooled ash in a lidded metal container on a noncombustible surface.
What “commercial grade” should mean at home
For a backyard build, commercial-grade performance means repeatable heat, durable refractory materials, effective insulation, clean draft and safe construction. It does not mean the oven is certified for restaurant service. Selling food can trigger separate health-department, fire-code, ventilation and equipment-listing requirements.
The best shortcut is not thinner masonry or cheaper insulation. It is choosing one tested plan, obtaining local approval and hiring a mason or engineer for the parts beyond your experience. Build the base square, keep the insulation dry, cure the refractory slowly and the oven can become a serious cooking tool rather than an expensive garden ornament.
Sources and further reading
- Forno Bravo: Pompeii brick oven plan sequence
- Forno Bravo: materials and tools for 36- and 42-inch ovens
- Forno Bravo: Pompeii oven insulation and refractory specifications
- Forno Bravo: refractory curing schedule
- U.S. EPA: best wood-burning practices
- FDNY: current solid-fuel safety material